Creating Opt-in Forms and Popups
- Introduction
- Types of Opt-in Forms
- Creating Your First Form
- Form Design and Customization
- Integration Options
- Form Optimization
- Best Practices
- Next Steps
Introduction
Opt-in forms are essential tools for growing your email list organically. They allow website visitors to subscribe to your email list by providing their contact information. GushSend offers various types of forms and popups that you can customize and embed on your website to capture new subscribers effectively.
This tutorial will guide you through creating, customizing, and implementing opt-in forms that convert visitors into subscribers.
Types of Opt-in Forms
GushSend offers several types of opt-in forms to suit different marketing strategies:
1. Embedded Forms
- Purpose: Forms that are permanently embedded in your website content
- Best for: Blog sidebars, footer areas, dedicated landing pages
- Advantage: Always visible to visitors
2. Popup Forms
- Purpose: Forms that appear as overlays on your website
- Best for: Exit-intent capture, timed popups, scroll-triggered forms
- Advantage: High visibility and conversion rates
3. Slide-in Forms
- Purpose: Forms that slide in from the corner of the screen
- Best for: Less intrusive lead capture
- Advantage: Noticeable but not disruptive
4. Landing Pages
- Purpose: Dedicated pages focused solely on email capture
- Best for: Social media campaigns, paid advertising
- Advantage: Focused conversion experience
Creating Your First Form
Step 1: Access Forms & Popups
- Navigate to Lists in the left sidebar
- Click on "Forms & Popups" from the dropdown menu
- You'll see the Forms & Popups management page
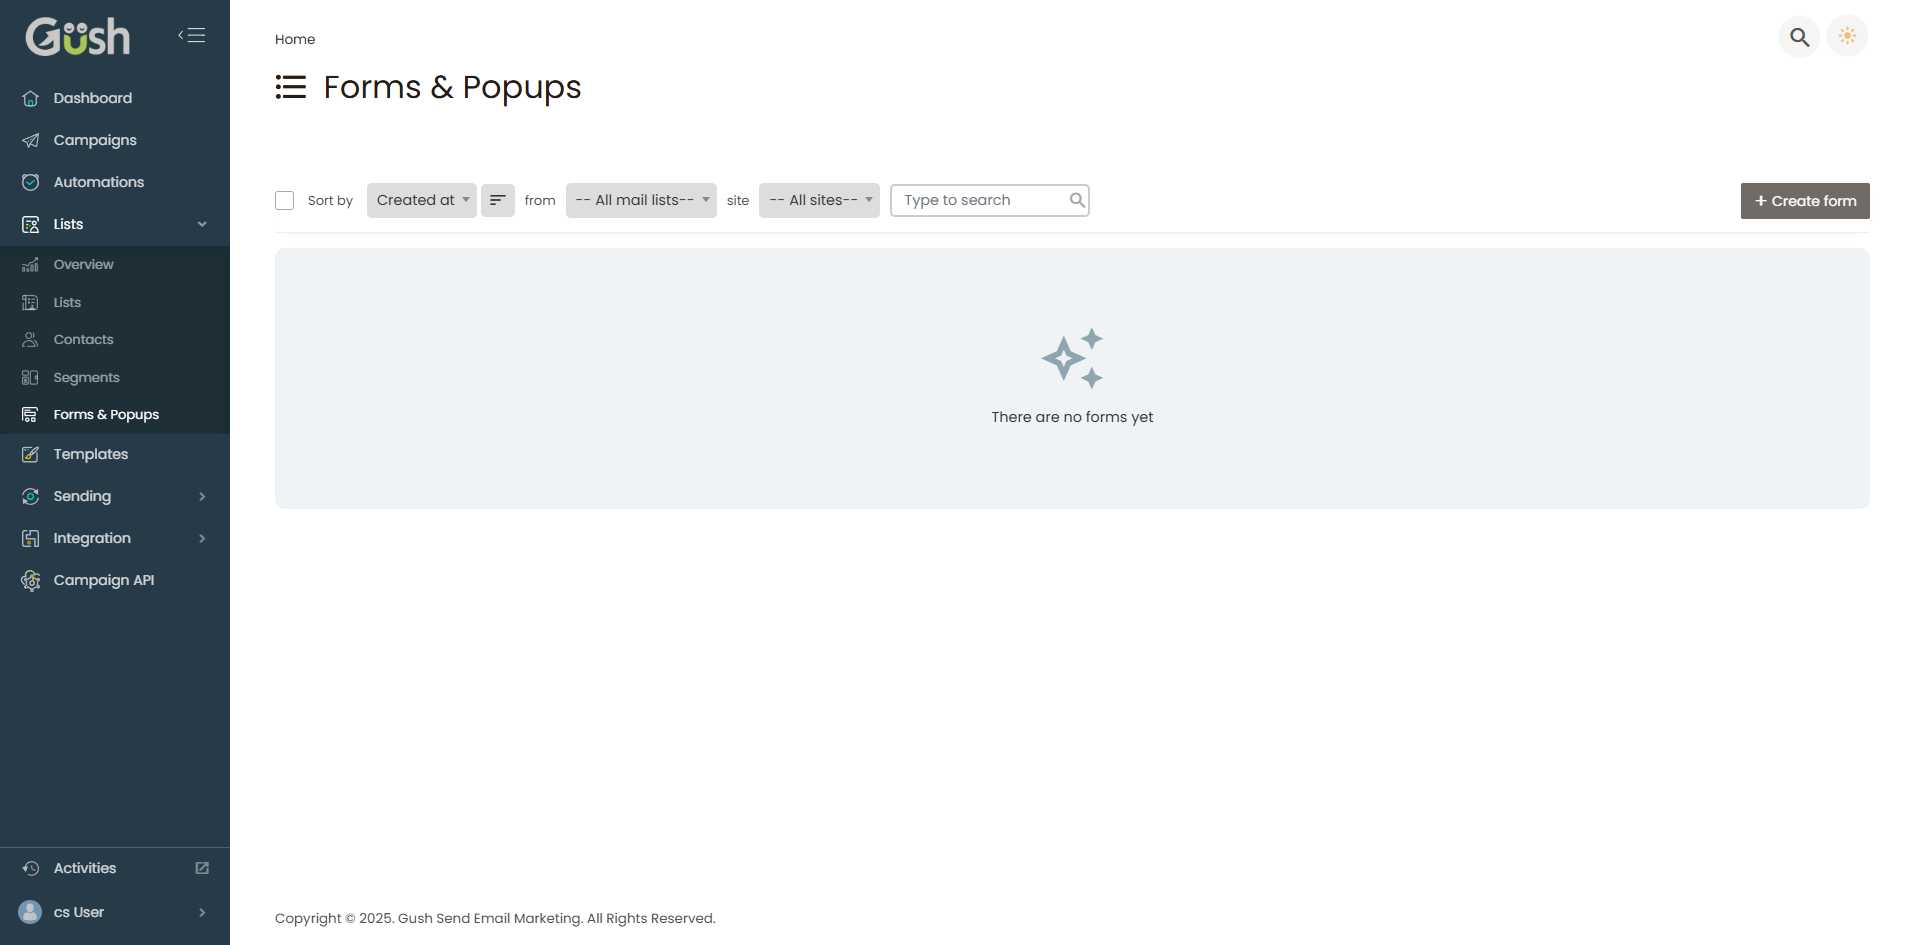
Step 2: Start Creating a Form
- Click the "Create form" button in the top-right corner
- Choose your form type from the available options:
- Embedded form
- Popup form
- Slide-in form
- Landing page
Step 3: Select Your Target List
- Choose the email list where new subscribers will be added
- Verify the list settings to ensure proper welcome emails and confirmation settings
Step 4: Basic Form Configuration
Form Details
- Form Name: Give your form a descriptive name for internal reference
- Form Title: The headline visitors will see (e.g., "Subscribe to Our Newsletter")
- Description: Brief text explaining what subscribers will receive
- Submit Button Text: Customize the button text (e.g., "Subscribe Now", "Get Updates")
Required Fields
- Email Address: Always required for subscription
- First Name: Recommended for personalization
- Last Name: Optional but useful for segmentation
- Custom Fields: Add any additional fields you need
Form Design and Customization
Visual Customization
Colors and Branding
- Background Color: Match your website's color scheme
- Text Color: Ensure good contrast for readability
- Button Color: Use a color that stands out and encourages clicks
- Border Style: Customize borders to match your design
Typography
- Font Family: Choose fonts that match your brand
- Font Size: Ensure text is readable on all devices
- Font Weight: Use bold text for important elements
Layout Options
- Form Width: Adjust to fit your website layout
- Field Spacing: Control the space between form elements
- Alignment: Center, left, or right-align your form elements
Content Customization
Compelling Headlines
- Be specific: "Get Weekly Marketing Tips" vs. "Subscribe"
- Show value: "Join 10,000+ Marketers Getting Our Newsletter"
- Create urgency: "Don't Miss Our Latest Updates"
Effective Descriptions
- Explain benefits: What will subscribers receive?
- Set expectations: How often will you email them?
- Build trust: Mention your privacy policy
Call-to-Action Buttons
- Use action words: "Subscribe", "Join", "Get Access"
- Create urgency: "Subscribe Now", "Get Instant Access"
- Be specific: "Send Me Marketing Tips"
Integration Options
Website Integration
Embed Code
- Copy the embed code provided by GushSend
- Paste it into your website where you want the form to appear
- Test the form to ensure it's working correctly
WordPress Integration
- Use the provided WordPress plugin or embed code
- Add forms to sidebars, posts, or pages
- Customize styling to match your theme
HTML/CSS Integration
- Copy the provided HTML code
- Customize CSS styling as needed
- Ensure mobile responsiveness
Popup Configuration
Trigger Settings
- Time delay: Show popup after X seconds on page
- Scroll percentage: Display when user scrolls X% down the page
- Exit intent: Show when user moves cursor toward browser close button
- Page views: Display after user visits X number of pages
Display Rules
- Frequency: How often to show the popup to the same visitor
- Page targeting: Show on specific pages or exclude certain pages
- Device targeting: Show on desktop, mobile, or both
Form Optimization
A/B Testing
Test different elements to improve conversion rates:
Headlines
- Test different value propositions
- Try various lengths (short vs. detailed)
- Experiment with urgency vs. benefit-focused messaging
Form Fields
- Test minimal fields (email only) vs. more detailed forms
- Experiment with required vs. optional fields
- Try different field labels and placeholder text
Design Elements
- Test different colors for buttons and backgrounds
- Experiment with form placement and timing
- Try different images or graphics
Conversion Rate Optimization
Reduce Friction
- Minimize required fields: Only ask for essential information
- Clear value proposition: Make benefits obvious
- Simple language: Use clear, jargon-free text
- Mobile optimization: Ensure forms work well on mobile devices
Build Trust
- Privacy assurance: Mention you won't spam or share emails
- Social proof: Show subscriber count or testimonials
- Professional design: Use clean, professional styling
- Clear unsubscribe: Mention easy unsubscribe options
Best Practices
Form Placement
- Above the fold: Place important forms where they're immediately visible
- Multiple locations: Use different form types in various locations
- Content-relevant: Place forms near relevant content
- Exit points: Capture visitors before they leave
Timing and Frequency
- Don't be too aggressive: Avoid showing popups immediately
- Respect user experience: Don't show popups too frequently
- Use exit-intent: Capture visitors who are about to leave
- Test timing: Find the optimal delay for your audience
Mobile Optimization
- Responsive design: Ensure forms work on all screen sizes
- Touch-friendly: Make buttons large enough for mobile taps
- Fast loading: Optimize for mobile connection speeds
- Simple forms: Keep mobile forms especially simple
Legal Compliance
- Clear consent: Make it obvious what users are signing up for
- Privacy policy: Link to your privacy policy
- GDPR compliance: Include necessary checkboxes for EU visitors
- Unsubscribe options: Make it easy to unsubscribe
Next Steps
After creating and implementing your opt-in forms:
- Monitor Form Performance - Track conversion rates and optimize
- Create Welcome Email Series - Set up automated welcome sequences
- Build Your First Campaign - Send valuable content to new subscribers
Remember: The best opt-in forms provide clear value to visitors while being respectful of their browsing experience. Focus on building trust and clearly communicating the benefits of subscribing to your email list.