Creating Your First Email List
- Introduction
- Accessing the Lists Section
- Creating a New List
- List Identity Settings
- Subscription Settings
- Best Practices
- Next Steps
Introduction
Creating an email list is the foundation of your email marketing efforts in GushSend. An email list is a collection of subscribers who have opted in to receive communications from you. This tutorial will guide you through creating your first email list with proper settings for maximum deliverability and engagement.
Accessing the Lists Section
To create your first email list:
- Log into your GushSend account at https://send.gush.zone
- Navigate to Lists in the left sidebar menu
- Click on "Lists" from the dropdown menu
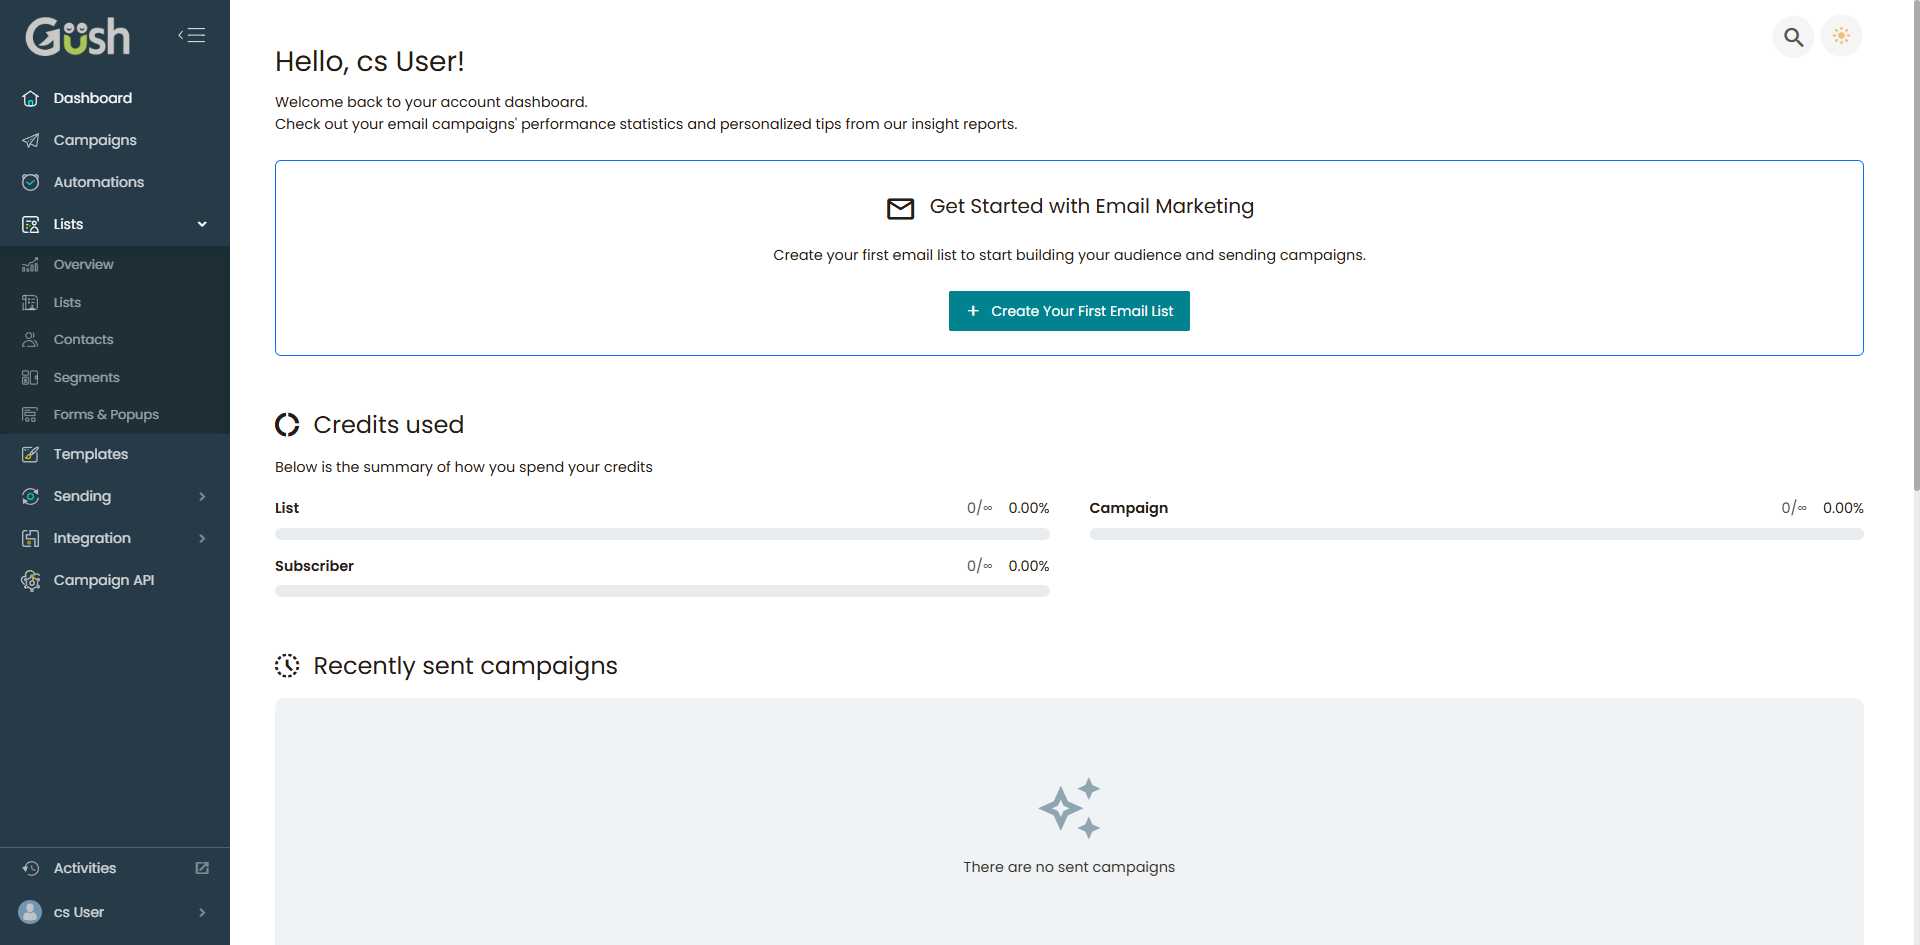
You'll see the Lists overview page, which will be empty if this is your first list.
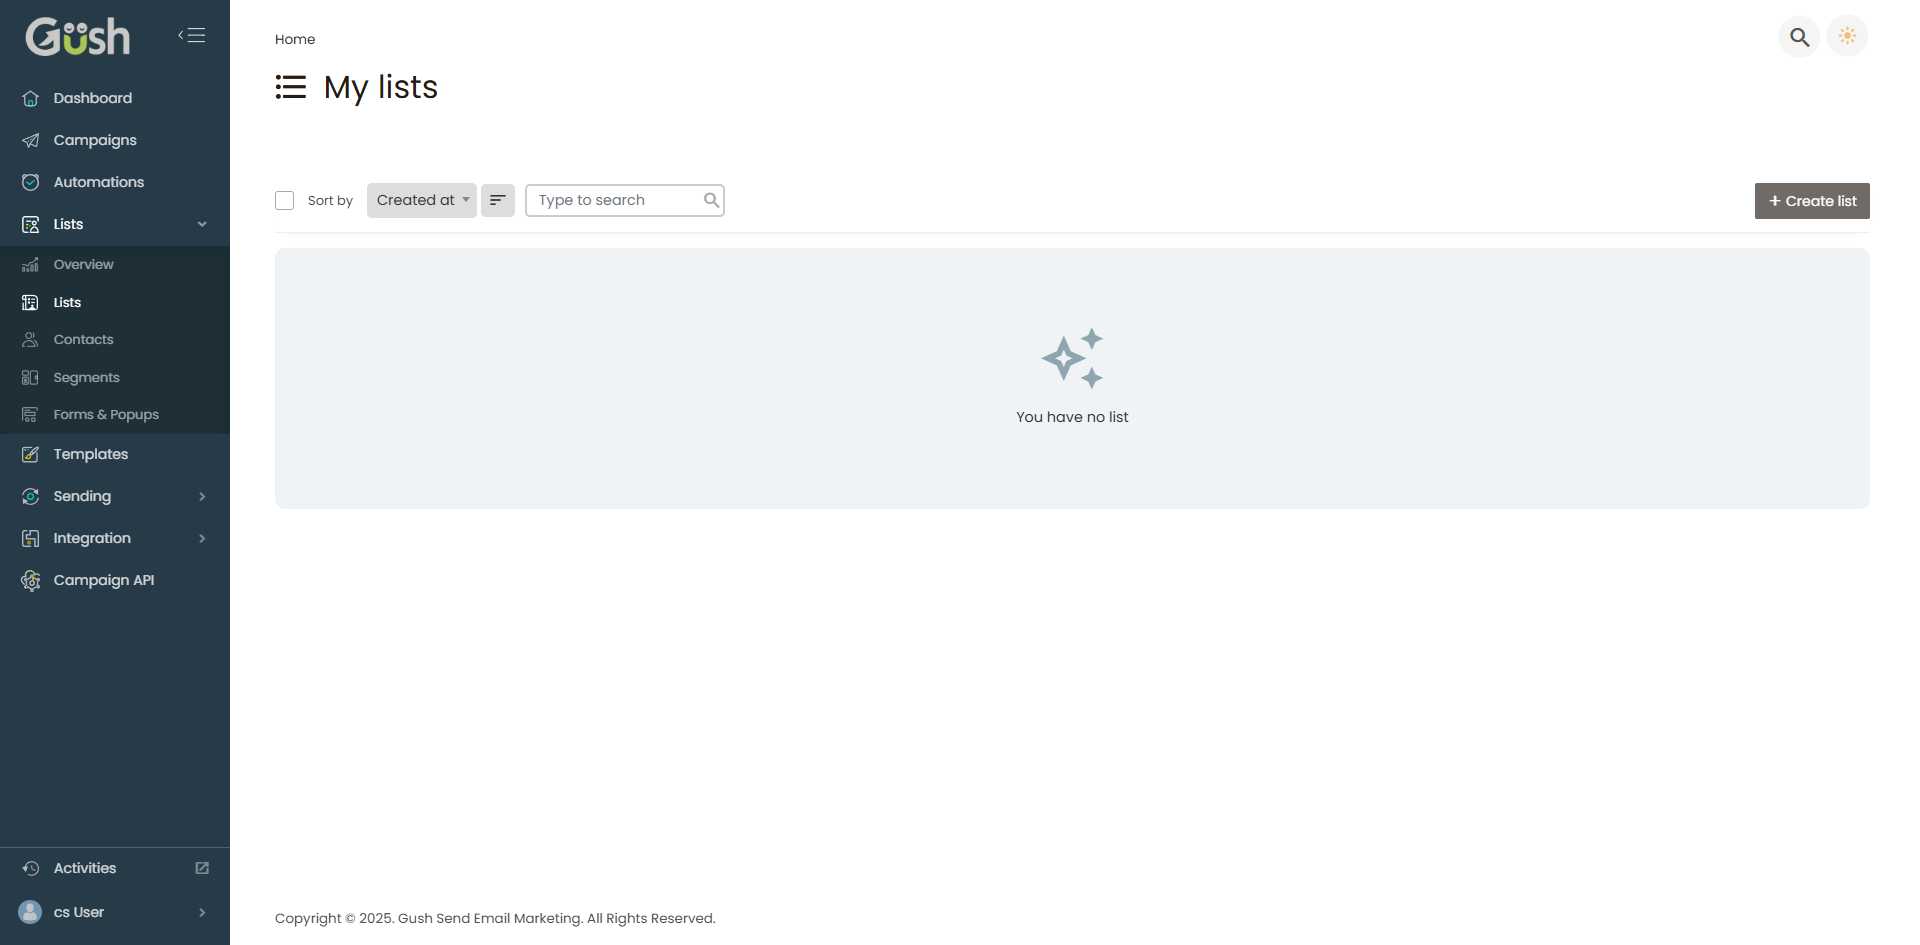
Creating a New List
- Click the "Create list" button in the top-right corner of the Lists page
- You'll be taken to the list creation form
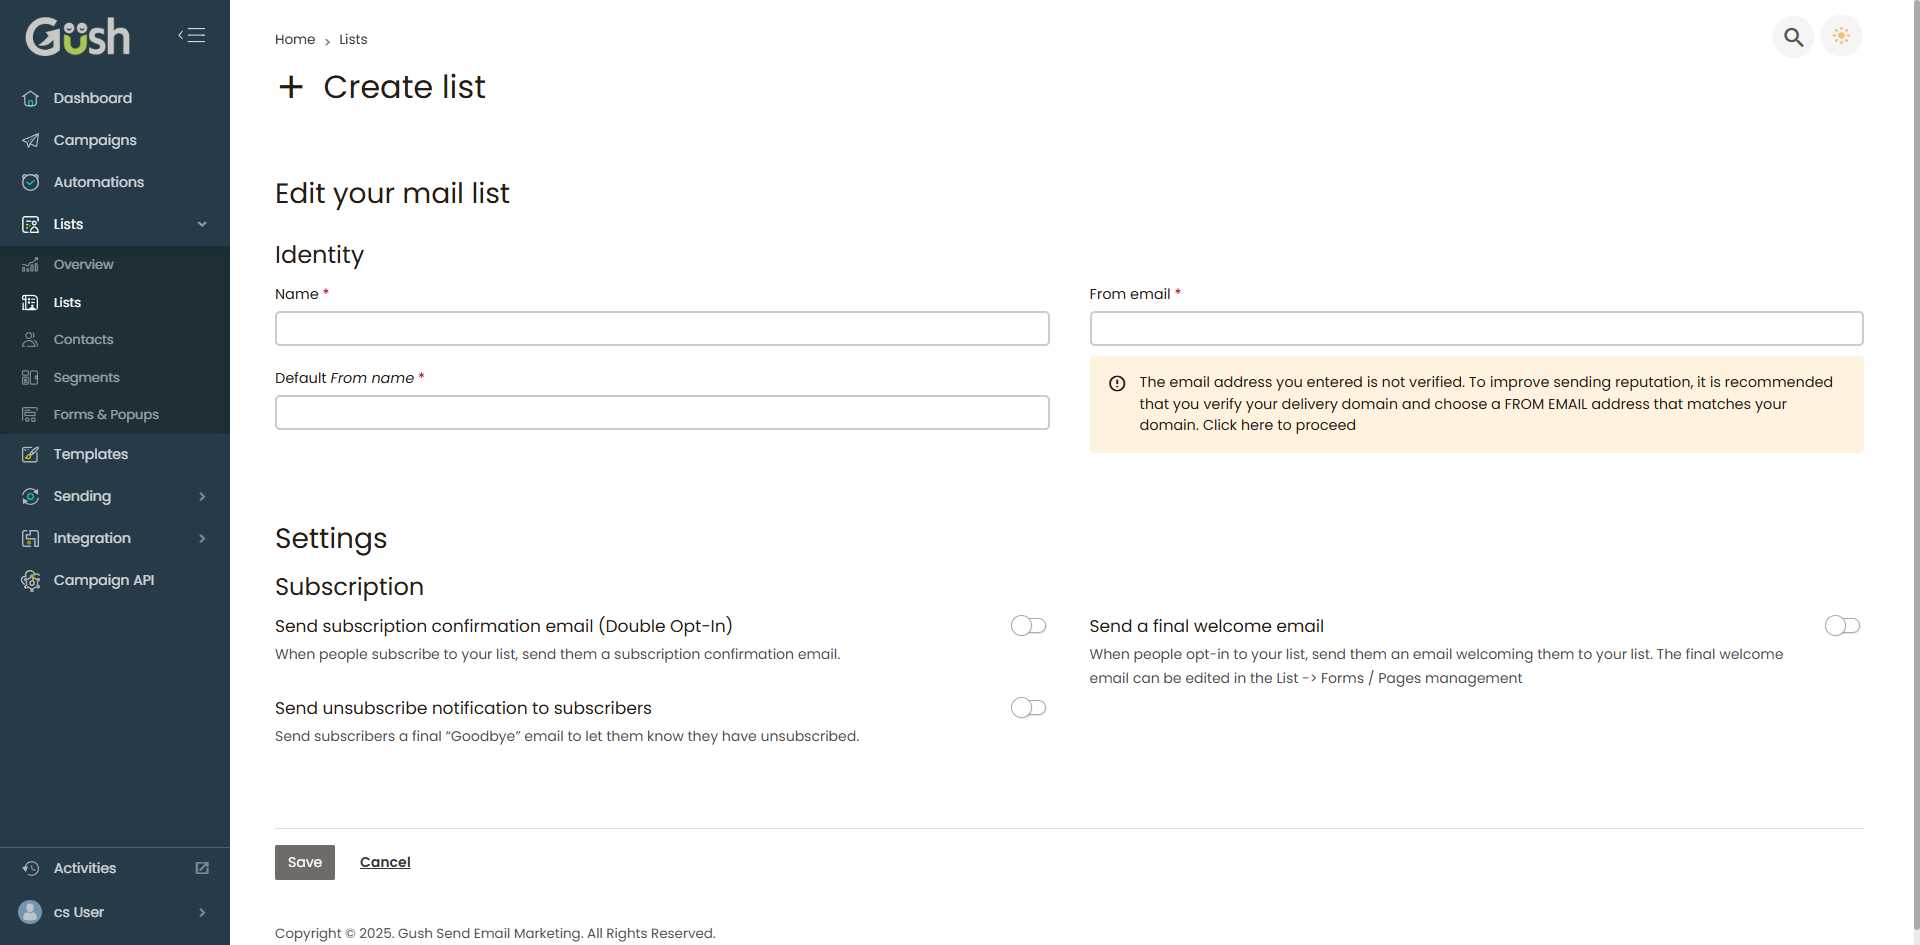
List Identity Settings
The first section you'll need to complete is the Identity section, which defines how your emails will appear to subscribers.
Required Fields
1. List Name
- Purpose: This is what your subscribers will see, so make it clear and professional
- Good examples:
- "Acme Company Newsletter"
- "Marketing Tips Weekly"
- "Product Updates from [Your Company]"
- Bad examples:
- "Cust_11_01_2007"
- "List1"
- "Test"
2. Default From Name
- Purpose: This appears in the "From" field of your emails
- Best practice: Use your company name or a recognizable person's name
- Examples:
- "Acme Company"
- "John from Acme"
- "Acme Support Team"
3. From Email Address
- Purpose: This is the email address your campaigns will be sent from
- Important: The email address must be verified for better deliverability
- Best practice: Use an email address from your own domain (e.g., newsletter@yourcompany.com)
- Note: If you see a warning about unverified email, you'll need to verify your sending domain later
Pro Tip: Using a consistent "From" name and email address helps build trust with your subscribers and improves email deliverability.
Subscription Settings
The Settings section allows you to configure how subscriptions and unsubscriptions are handled.
Subscription Options
1. Send Subscription Confirmation Email (Double Opt-In)
- Recommended: ✅ Enable this option
- Purpose: Sends a confirmation email when someone subscribes
- Benefits:
- Ensures valid email addresses
- Improves deliverability
- Reduces spam complaints
- Complies with email marketing regulations
2. Send Unsubscribe Notification
- Optional: You can enable this if you want to send a "goodbye" email
- Purpose: Confirms to subscribers that they've been unsubscribed
- Use case: Good for maintaining a positive relationship even after unsubscription
3. Send Final Welcome Email
- Recommended: ✅ Enable this option
- Purpose: Sends a welcome email after subscription is confirmed
- Benefits:
- Sets expectations for your email content
- Provides immediate value
- Increases engagement from the start
Saving Your List
Once you've completed all the required fields:
- Review your settings to ensure everything is correct
- Click the "Save" button to create your list
- You'll be redirected to your list management page
Best Practices for Email Lists
Naming Conventions
- Use descriptive names that clearly indicate the list's purpose
- Include your brand name for recognition
- Avoid generic names like "Newsletter" or "Updates"
Email Address Setup
- Use a professional email address from your domain
- Avoid using personal email addresses (like Gmail or Yahoo)
- Set up a dedicated email address for newsletters (e.g., newsletter@yourcompany.com)
Subscription Settings
- Always use double opt-in to ensure quality subscribers
- Enable welcome emails to set expectations
- Keep unsubscribe processes simple and respectful
List Organization
- Create separate lists for different types of content or audiences
- Use descriptive names that make it easy to identify the list's purpose
- Consider creating lists for different customer segments
Next Steps
Congratulations! You've created your first email list. Now you're ready to:
- Import Email Subscribers - Add your existing contacts to the list
- Create Opt-in Forms - Set up forms to capture new subscribers
- Create Your First Campaign - Send a welcome message to your list
Important Reminder: Before sending any campaigns, make sure you have permission to email your subscribers and that they've explicitly opted in to receive communications from you. This ensures compliance with email marketing regulations and maintains a positive sender reputation.