Creating Broadcast Email Campaigns
- Introduction
- Campaign Planning
- Creating Your Campaign
- Email Content Creation
- Campaign Settings
- Testing and Preview
- Sending Your Campaign
- Best Practices
- Next Steps
Introduction
Broadcast email campaigns are one-time emails sent to your entire list or a specific segment of subscribers. These campaigns are perfect for newsletters, product announcements, promotional offers, or any message you want to send to multiple subscribers at once.
This tutorial will guide you through creating, designing, and sending your first broadcast email campaign in GushSend.
Campaign Planning
Before creating your campaign, plan your content and strategy:
Define Your Goals
- Newsletter: Regular updates and valuable content
- Promotion: Special offers or product launches
- Announcement: Company news or important updates
- Re-engagement: Win back inactive subscribers
Know Your Audience
- Segment selection: Choose the right subscriber group
- Content relevance: Ensure content matches subscriber interests
- Timing: Consider when your audience is most likely to engage
- Frequency: Maintain consistent sending schedule
Content Strategy
- Value proposition: What benefit will subscribers get?
- Call to action: What do you want subscribers to do?
- Content mix: Balance promotional and educational content
- Brand consistency: Maintain your brand voice and style
Creating Your Campaign
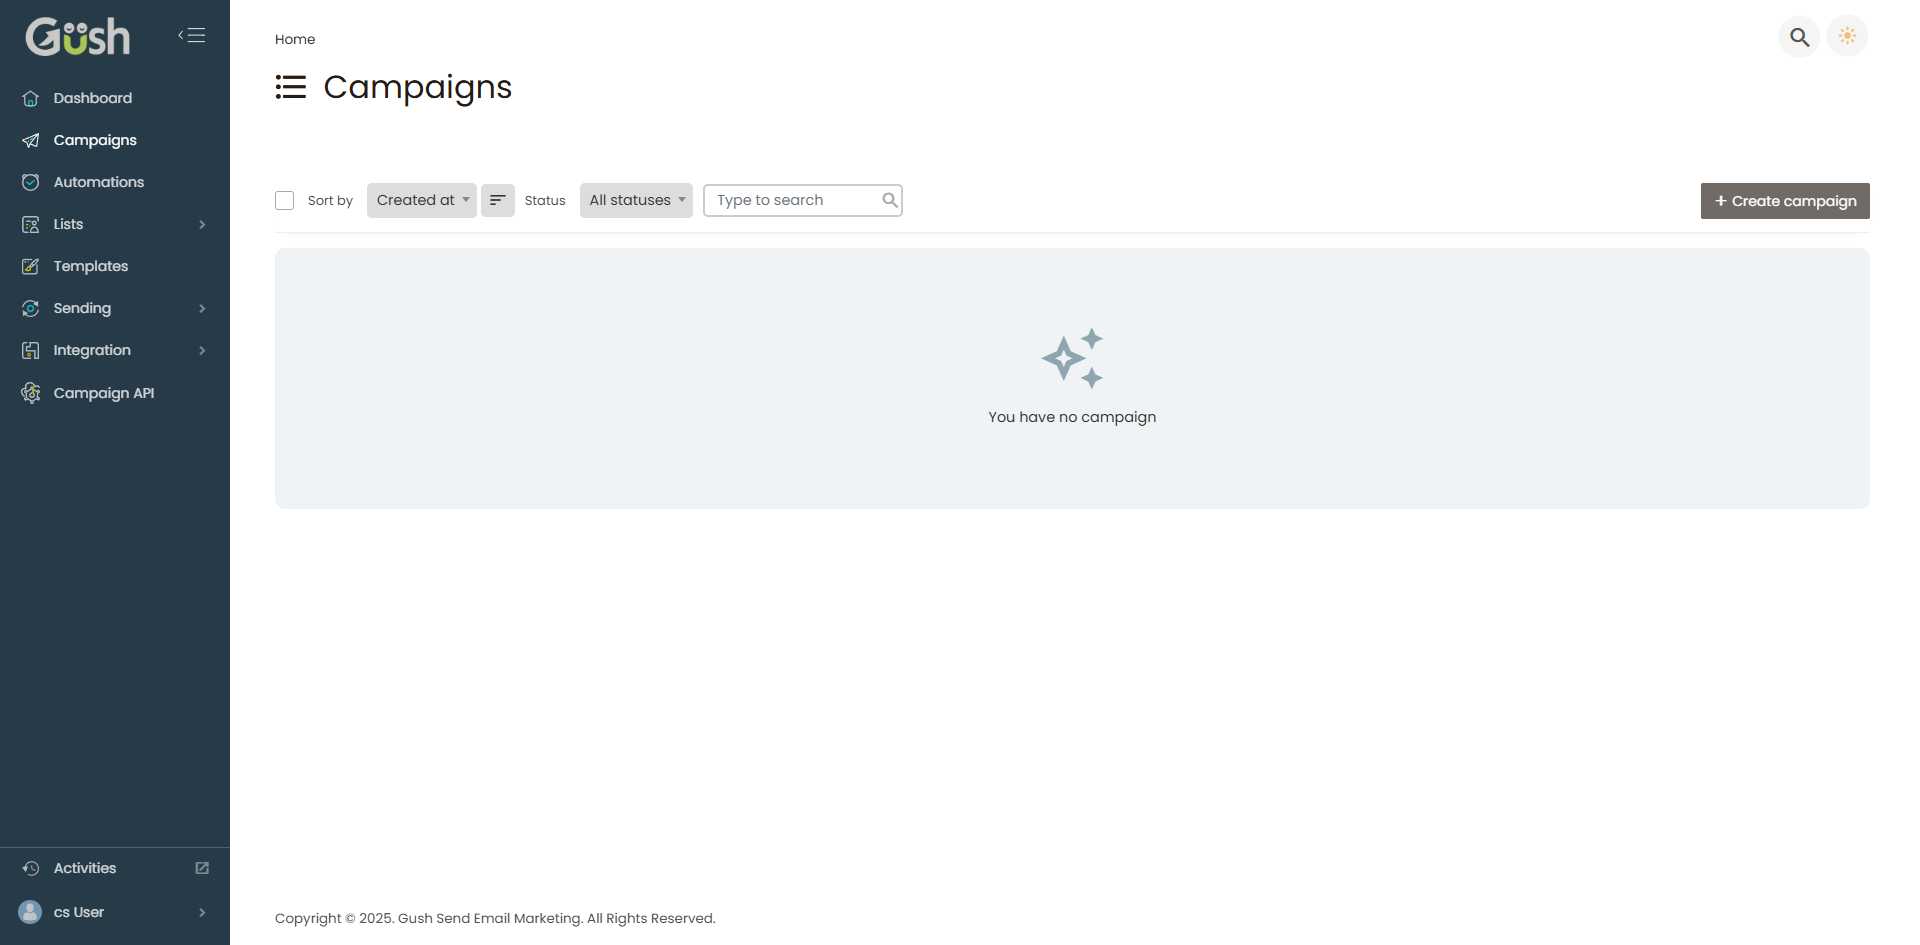
Step 1: Access Campaigns
- Navigate to "Campaigns" in the left sidebar
- You'll see the Campaigns overview page
Step 2: Start a New Campaign
- Click the "Create campaign" button in the top-right corner
- Choose campaign type: Select "Regular Campaign" for broadcast emails
- Select your email list or segment to send to
Step 3: Campaign Setup
Basic Information
- Campaign Name: Internal name for your reference (e.g., "March Newsletter 2024")
- Subject Line: What subscribers will see in their inbox
- From Name: Who the email appears to be from
- From Email: The sender's email address
- Reply-to Email: Where replies will be sent
Subject Line Best Practices
- Keep it concise: 30-50 characters work best
- Be specific: Clearly indicate what's inside
- Create curiosity: Make subscribers want to open
- Avoid spam triggers: Don't use excessive caps or exclamation marks
- Personalize when possible: Use subscriber's name or location
Good Examples:
- "Your weekly marketing tips are here, [First Name]"
- "New product launch: 50% off for subscribers"
- "5 strategies that increased our sales by 200%"
Avoid:
- "URGENT!!! OPEN NOW!!!"
- "Make money fast"
- "Free money inside"
Email Content Creation
Choose Your Design Method
Option 1: Use a Template
- Browse template gallery: Choose from pre-designed templates
- Select a template: Pick one that matches your brand and content type
- Customize: Modify colors, fonts, and layout to match your brand
Option 2: Drag-and-Drop Builder
- Start with blank template: Begin with a clean slate
- Add content blocks: Drag elements like text, images, buttons
- Customize layout: Arrange elements to create your design
Option 3: HTML Editor
- Code your own: Use HTML/CSS for complete control
- Import existing: Upload your own HTML template
- Advanced features: Add custom styling and functionality
Essential Email Elements
Header Section
- Logo: Include your company logo for brand recognition
- Navigation: Optional menu links to your website
- Consistent branding: Use your brand colors and fonts
Content Sections
- Compelling headline: Grab attention immediately
- Valuable content: Provide useful information or offers
- Clear structure: Use headings and bullet points for readability
- Images: Include relevant, high-quality images
Call-to-Action (CTA)
- Clear buttons: Use contrasting colors for CTA buttons
- Action-oriented text: "Shop Now", "Learn More", "Download"
- Strategic placement: Position CTAs where they'll be noticed
- Multiple CTAs: Include 2-3 CTAs throughout longer emails
Footer Section
- Contact information: Include your business address
- Social media links: Connect subscribers to your social profiles
- Unsubscribe link: Required by law and best practices
- Preference center: Allow subscribers to manage their preferences
Campaign Settings
Audience Selection
Choose Recipients
- Entire list: Send to all active subscribers
- Segments: Target specific groups based on criteria
- Custom selection: Manually select specific subscribers
Exclusions
- Unsubscribed: Automatically excluded
- Bounced emails: Exclude addresses that have bounced
- Inactive subscribers: Consider excluding non-engaged subscribers
Delivery Options
Send Immediately
- Instant delivery: Send as soon as you click "Send"
- Best for: Time-sensitive announcements or promotions
Schedule for Later
- Specific date/time: Choose when to send your campaign
- Time zone considerations: Send at optimal times for your audience
- Best for: Planned newsletters or announcements
A/B Testing
- Subject line testing: Test different subject lines
- Content testing: Test different email designs or content
- Send time testing: Test different delivery times
- Sample size: Choose what percentage to test
Testing and Preview
Preview Your Email
- Desktop preview: See how your email looks on desktop
- Mobile preview: Check mobile responsiveness
- Different email clients: Preview in various email programs
Send Test Emails
- Add test recipients: Include your email and team members
- Send test: Review the actual email in your inbox
- Check all elements: Verify links, images, and formatting
- Test on mobile: Open the test email on your phone
Quality Checklist
Before sending, verify:
- ✅ Subject line is compelling and error-free
- ✅ From name and email are correct
- ✅ All links work properly
- ✅ Images display correctly
- ✅ Content is proofread and error-free
- ✅ CTA buttons are prominent and functional
- ✅ Unsubscribe link is present and working
- ✅ Email displays well on mobile devices
Sending Your Campaign
Final Review
- Double-check recipient list: Ensure you're sending to the right audience
- Verify send time: Confirm scheduled time is correct
- Review content one last time: Make sure everything is perfect
Send Process
- Click "Send" or "Schedule" button
- Confirm sending: Review the final confirmation dialog
- Monitor delivery: Watch for any immediate delivery issues
Post-Send Monitoring
Immediate Checks (First Hour)
- Delivery rate: Ensure emails are being delivered
- Bounce rate: Monitor for delivery failures
- Unsubscribe rate: Watch for unusual unsubscribe activity
Performance Tracking (First 24 Hours)
- Open rate: Track how many subscribers open your email
- Click rate: Monitor clicks on your CTAs
- Engagement patterns: See when subscribers are most active
Best Practices
Content Quality
- Provide value: Every email should benefit the subscriber
- Keep it scannable: Use short paragraphs and bullet points
- Balance text and images: Don't rely too heavily on images
- Maintain consistency: Keep your brand voice and style consistent
Technical Optimization
- Mobile-first design: Ensure emails work well on mobile devices
- Fast loading: Optimize images for quick loading
- Alt text: Include alt text for all images
- Clean HTML: Use well-structured, clean code
Compliance and Ethics
- Permission-based: Only email subscribers who opted in
- Clear unsubscribe: Make it easy to unsubscribe
- Honest subject lines: Don't mislead subscribers
- Privacy respect: Handle subscriber data responsibly
Performance Optimization
- Test regularly: A/B test different elements
- Monitor metrics: Track and analyze campaign performance
- Segment audiences: Send more targeted, relevant content
- Optimize send times: Find when your audience is most engaged
Next Steps
After sending your first broadcast campaign:
- Analyze Campaign Performance - Review metrics and optimize future campaigns
- Set Up Email Automation - Create automated email sequences
- Create Email Templates - Build reusable templates for future campaigns
Remember: Successful email marketing is about building relationships with your subscribers. Focus on providing value, being consistent, and respecting your audience's time and preferences.