Setting Up Your Account
- Introduction
- Accessing Your Admin Account
- Completing Your Profile
- Basic Community Settings
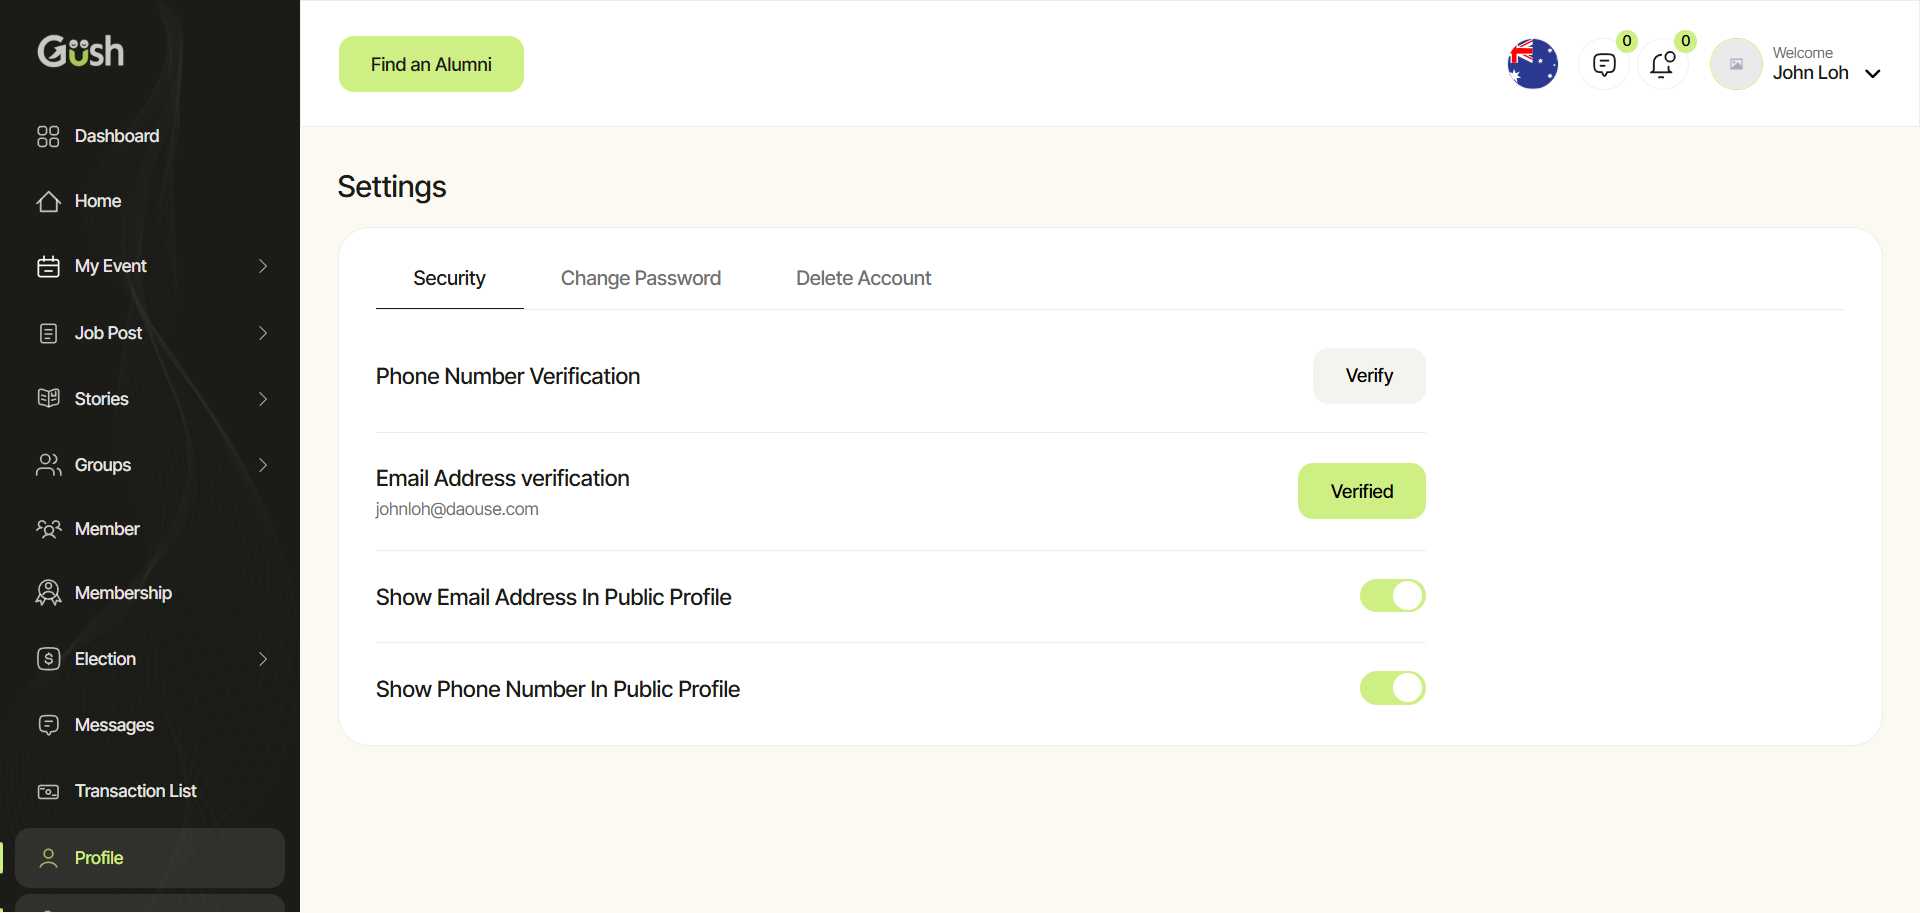
- Privacy and Access Settings
- Next Steps
Introduction
Setting up your account properly is the first step to creating a successful community on Gush. This tutorial will guide you through the initial setup process, from accessing your admin account to configuring basic settings for your community.
Accessing Your Admin Account
Creating Your Account
If you don't have a Gush account yet, start by signing up:
- Visit the registration page: https://gush.zone/register
- Fill out the registration form with your email, and password
- Verify your email address by clicking the link sent to your inbox
- Follow the onboarding process to set up your community
Logging Into Your Account
Once you have an account, access your admin dashboard:
- Log in to your account at your community's URL (e.g.,
yourcommunity.gush.zone) - Enter your email and password that you used during registration
- Navigate to the Admin Dashboard by clicking on your profile picture in the top-right corner and selecting "Admin Dashboard"
Completing Your Profile
A complete profile helps build trust with your community members:
- Navigate to Profile from your admin dashboard

- Click on the Edit Profile tab to update your information
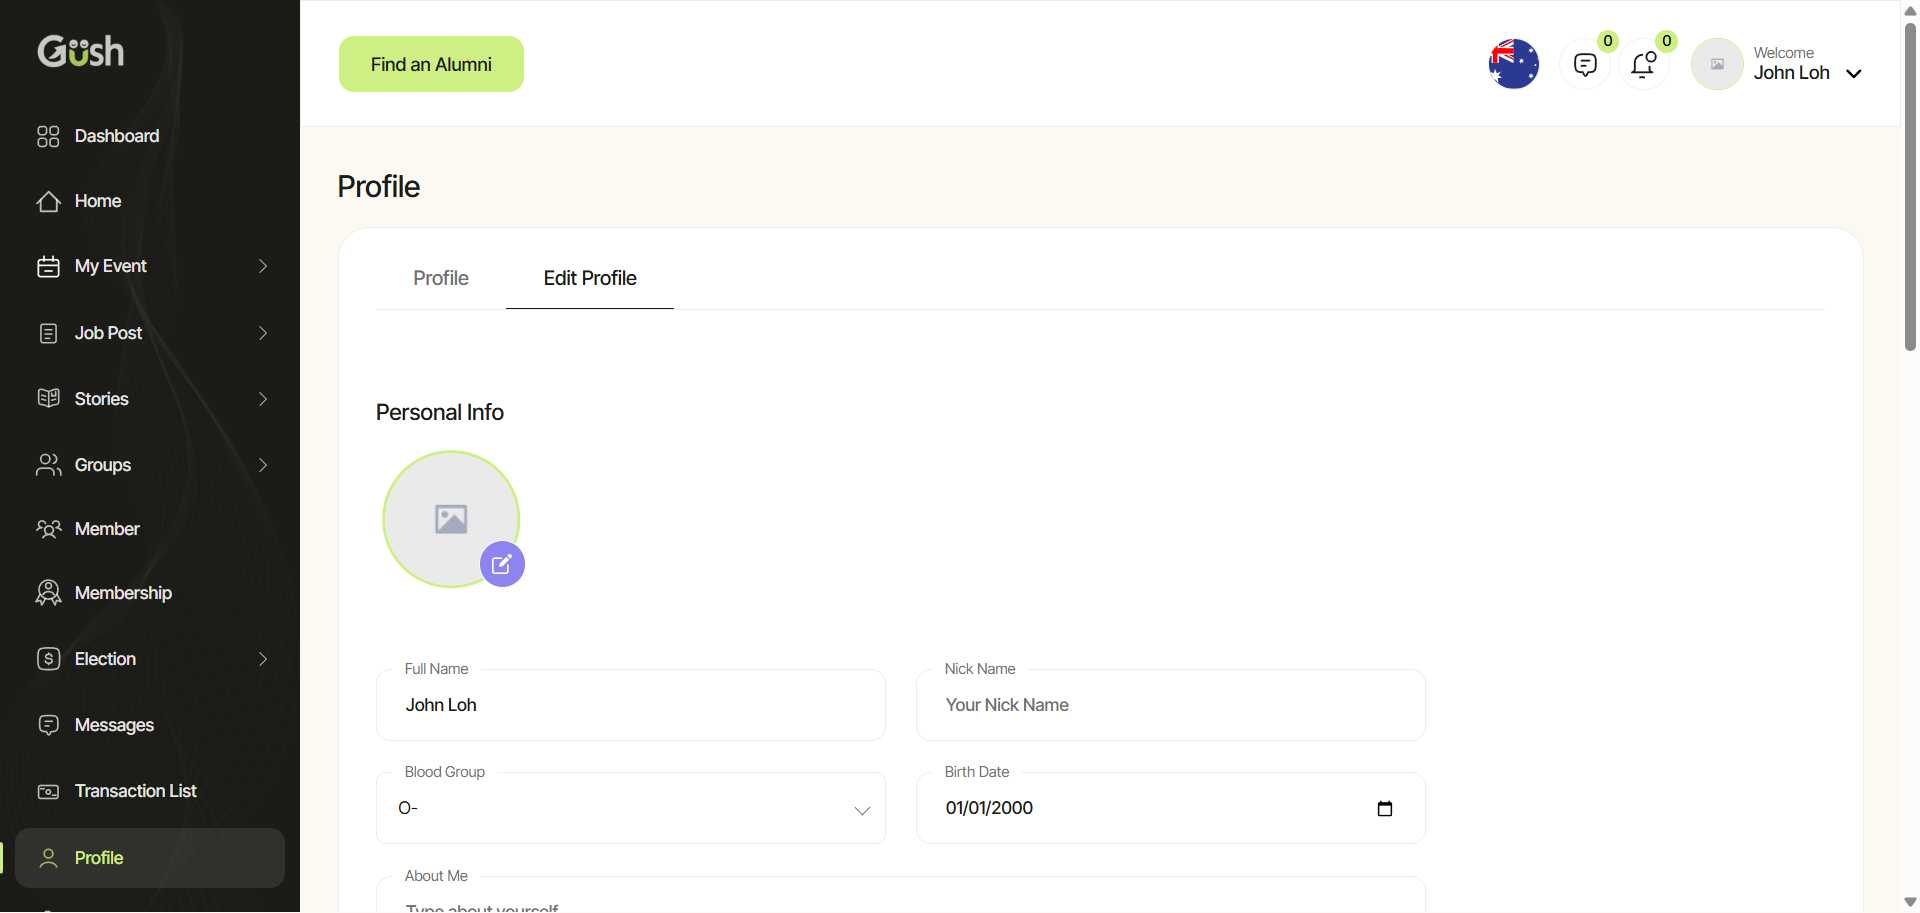
- Update your profile information:
- Upload a profile picture (recommended size: 400x400 pixels)
- Add a short bio describing yourself and your expertise
- Include relevant links to your website or social media profiles
- Fill in your personal, contact, educational, and professional information
- Save your changes
Pro Tip: Your profile is visible to all community members, so make sure it reflects your professional identity and establishes your credibility as the community leader.
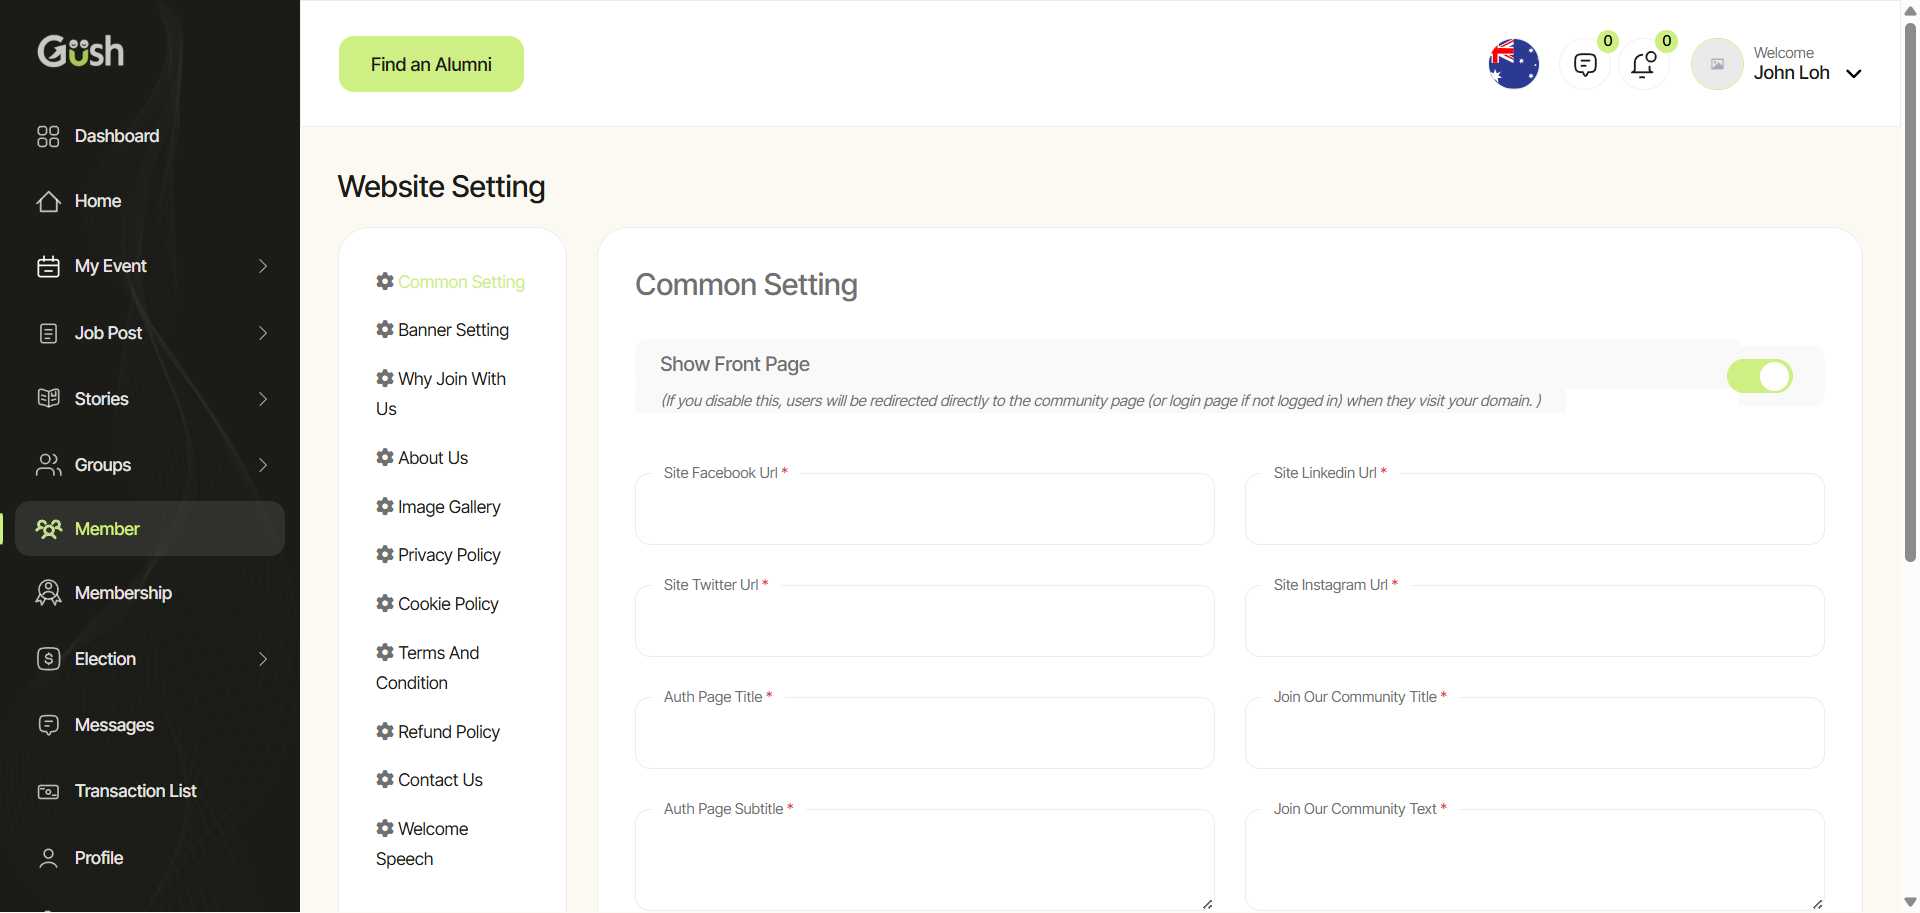
Basic Community Settings
Configure the fundamental settings for your community:
- Go to Settings > Community Settings
- Set up your community basics:
- Community Name: Choose a clear, memorable name
- Community URL: Select a unique URL for your community
- Description: Write a compelling description of what your community is about
- Save your changes
Best Practices:
- Keep your community name simple and relevant to your topic
- Choose a URL that's easy to remember and share
- Write a description that clearly explains the purpose and benefits of your community
Privacy and Access Settings
Determine who can join your community and what they can see:
- Go to Settings > Privacy & Access
- Configure your membership settings:
- Public Community: Anyone can view content, but must join to participate
- Private Community: Content is only visible to members
- Membership Approval: Choose whether to approve members manually or allow automatic joining
- Set content visibility options:
- Decide if non-members can view specific content types
- Configure default privacy settings for new posts
- Save your changes
Recommendation: For most communities, starting with a public community but requiring membership approval gives you the best balance of visibility and control.
Next Steps
Now that you've set up your account and basic community settings, you're ready to customize your community's appearance:
- Customize Your Network - Brand your community with your logo, colors, and messaging
- Create and Manage Groups - Organize your community with focused discussion areas
- Manage Members - Learn how to approve, manage, and engage with your community members
Remember, your settings can be adjusted at any time as your community grows and evolves.