Creating and Managing Groups
- Introduction
- Understanding Groups
- Creating a New Group
- Group Settings and Configuration
- Managing Group Content
- Group Moderation
- Best Practices
- Next Steps
Introduction
Groups are the building blocks of your Gush community. They allow you to organize discussions around specific topics, interests, or purposes. This tutorial will guide you through creating and managing groups effectively.
Understanding Groups
Groups in Gush serve several important purposes:
- Organize discussions by topic, interest, or purpose
- Create focused spaces for specific segments of your community
- Manage permissions for different types of content and members
- Highlight important areas of your community
Every Gush community starts with a "General" group, but you can create as many additional groups as needed to structure your community effectively.
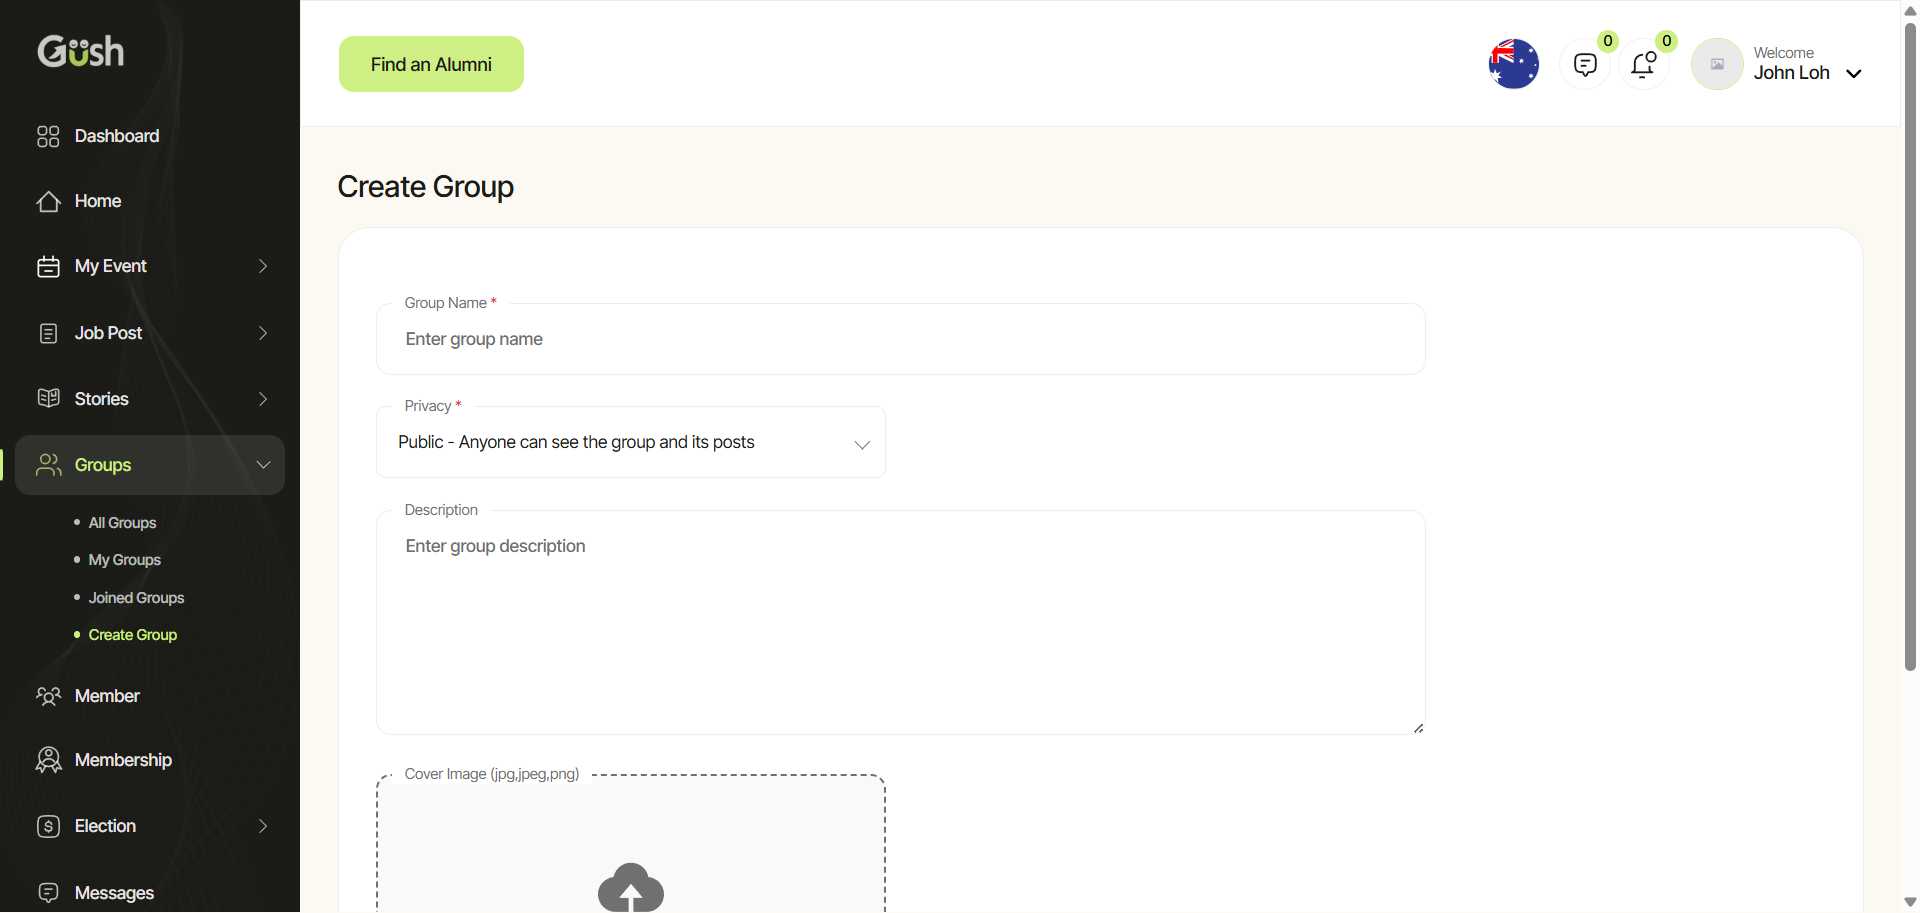
Creating a New Group
To create a new group:
- From your Admin Dashboard, go to Groups > Create New Group
- Fill in the basic information:
- Group Name: Choose a clear, descriptive name
- Group Description: Explain the purpose and topics of the group
- Group Rules: Set guidelines for participation (optional)
- Configure group settings:
- Privacy: Public (visible to all members) or Private (invitation only)
- Posting Permissions: Who can create posts in this group
- Approval Required: Whether posts need approval before appearing
- Upload a group image (recommended size: 800x400 pixels)
- Click "Create Group"
Pro Tip: Start with a few well-defined groups rather than creating too many at once. You can always add more groups as your community grows and evolves.
Group Settings and Configuration
After creating a group, you can configure additional settings:
- Navigate to the group and click on "Manage Group" (visible only to admins)
- Adjust group settings:
- Membership: Control who can join the group
- Notifications: Configure default notification settings
- Categories: Create categories for organizing posts within the group
- Featured Content: Highlight important posts at the top of the group
- Save your changes
Important Settings to Consider:
- Post Approval: Requiring approval for posts helps maintain quality but requires more moderation time
- Member Joining: For sensitive topics, consider making groups private and invitation-only
- Categories: For active groups, categories help members find relevant content
Managing Group Content
As an admin, you have several tools to manage content within groups:
-
Pinning Posts: Important announcements or resources can be pinned to the top of the group
- Navigate to the post and click the "..." menu
- Select "Pin to Group"
-
Creating Group Resources: Share files, links, or documents that members might need
- In the group, click "Resources"
- Click "Add Resource" and upload or link to your content
-
Featured Content: Highlight exemplary discussions or important information
- From the group management page, select "Featured Content"
- Choose posts to feature and arrange their order
Group Moderation
Effective moderation keeps your groups healthy and productive:
-
Assigning Group Moderators:
- From the group management page, select "Moderators"
- Search for members and assign them moderator permissions
-
Setting Up Moderation Rules:
- Create clear guidelines for what content is acceptable
- Configure automated moderation tools for flagged keywords
-
Handling Reported Content:
- Review reported posts promptly
- Take appropriate action (approve, edit, or remove)
- Communicate with members when necessary
Pro Tip: Consider creating a "Group Guidelines" post pinned to the top of each group to set clear expectations for participation.
Best Practices
Based on successful Gush communities, here are some best practices for group management:
- Start with core topics: Begin with 3-5 essential groups that align with your community's main interests
- Be descriptive: Use clear names and detailed descriptions so members understand each group's purpose
- Seed content: Add initial posts to new groups so they don't start empty
- Engage actively: Participate in group discussions, especially when they're new
- Evolve over time: Don't be afraid to reorganize groups as your community grows and changes
Next Steps
Now that you've set up your groups, you're ready to:
- Manage Members - Learn how to approve, manage, and engage with your community members
- Set Up Content Moderation - Ensure your community maintains high-quality discussions
- Create Events - Organize virtual or in-person gatherings for your community
Remember, active groups are the heart of a thriving community. Regularly review your group structure to ensure it continues to serve your community's needs.