Managing Members
- Introduction
- Member Dashboard Overview
- Member Approval Process
- Member Roles and Permissions
- Communicating with Members
- Handling Problem Members
- Best Practices
- Next Steps
Introduction
Your community members are the heart of your Gush network. Effective member management helps create a positive, engaging environment where everyone feels welcome and valued. This tutorial will guide you through the essential aspects of managing your community members.
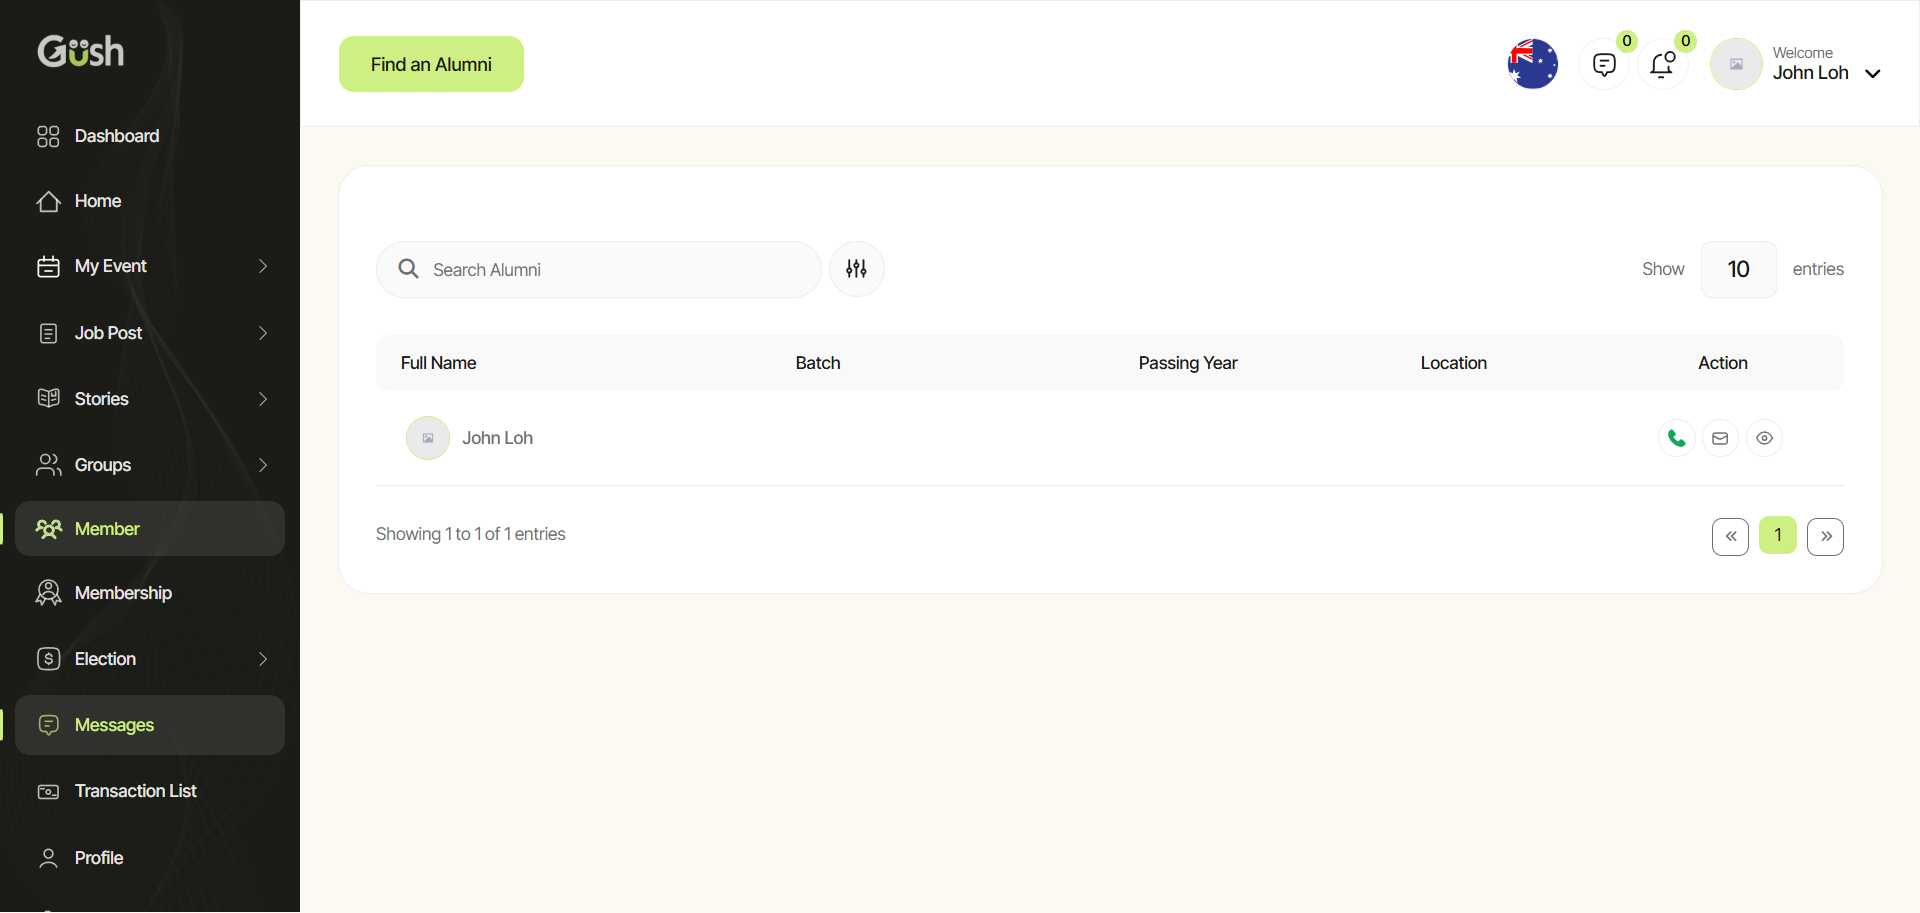
Member Dashboard Overview
The Members Dashboard provides a comprehensive view of your community membership:
- Navigate to Members in your Admin Dashboard
- Explore the Members Dashboard:
- Total member count and growth trends
- Active vs. inactive members
- New member requests (if approval is required)
- Member activity metrics
The dashboard gives you quick access to important member management functions:
- Approve or decline new member requests
- Search for specific members
- Filter members by status, role, or activity level
- Export member data (for newsletters or outreach)
Member Approval Process
If you've configured your community to require approval for new members:
- Go to Members > Pending Approvals
- Review each membership request:
- Check the member's profile information
- Review their reason for joining (if you require this information)
- Look for any red flags that might indicate spam or inappropriate intent
- Approve or decline each request:
- Click "Approve" to accept the member
- Click "Decline" to reject the request
- Optionally, add a personalized message with your decision
Pro Tip: Create a welcome message template to send to newly approved members, pointing them to important resources and groups in your community.
Member Roles and Permissions
Gush allows you to assign different roles to members based on their responsibilities:
- Navigate to Members > Roles
- Understand the default roles:
- Admin: Full access to all community settings and features (you)
- Moderator: Can approve content and manage discussions
- Member: Standard access to participate in the community
- Restricted: Limited access due to previous violations
- Assign roles to members:
- From the Members list, click on a member
- Select "Edit Role" from their profile
- Choose the appropriate role
- Save your changes
Creating Custom Roles:
- Go to Members > Roles > Create New Role
- Name your role and describe its purpose
- Configure specific permissions for the role
- Save the new role
- Assign it to appropriate members
Example Custom Roles:
- Group Leader: Can manage specific groups but not site-wide settings
- Content Creator: Special permissions for creating featured content
- Mentor: Designated to help new members
Communicating with Members
Effective communication helps build a strong community:
-
Direct Messages:
- From a member's profile, click "Message"
- Compose and send your message
- Messages are private between you and the member
-
Announcements:
- Go to Communication > Announcements
- Create a new announcement visible to all members
- Pin important announcements to the top of your community
-
Newsletters:
- Use the Newsletter feature for regular updates
- Target specific member segments if needed
- Track open rates and engagement
Pro Tip: Regular communication keeps your community engaged, but avoid overwhelming members with too many messages.
Handling Problem Members
Occasionally, you may need to address problematic behavior:
-
Warning a Member:
- Navigate to the member's profile
- Click "Send Warning"
- Clearly explain the issue and your community guidelines
- Keep a record of warnings issued
-
Restricting a Member:
- From the member's profile, click "Restrict Account"
- Choose the restriction level and duration
- Add a note explaining the restriction
- Restricted members have limited abilities but remain in the community
-
Removing a Member:
- As a last resort, navigate to the member's profile
- Click "Remove from Community"
- Choose whether to delete their content or leave it
- Optionally, block them from rejoining
Important: Always try to resolve issues through communication before taking restrictive actions.
Best Practices
Based on successful Gush communities, here are some best practices for member management:
- Welcome new members personally when possible
- Recognize active contributors to encourage participation
- Create clear guidelines for community behavior
- Be consistent in enforcing rules
- Gather feedback regularly from your members
- Identify potential leaders who could become moderators
- Balance growth with maintaining community quality
Next Steps
Now that you understand how to manage your community members, you're ready to:
- Set Up Content Moderation - Ensure your community maintains high-quality discussions
- Create Events - Organize virtual or in-person gatherings for your community
- Set Up Newsletters - Keep your members informed and engaged
Remember, building a thriving community takes time and consistent effort. Focus on creating a positive environment where members feel valued and engaged.